Water Watchers: Open Science in schools
“Water Watchers” is a science project in schools that aims at characterizing environmental water quality. It brings together teachers, students and scientists from 4 different European countries. The project was started in the context of an Eramus+ exchange grant.
Authors

Juanma Garcia
Content and graphic design
Workshop animation

Sonia Aguera
Content and graphic design
Workshop animation
Institutional partners

CRI Paris
Hosting
Funding for prototyping

Objectives
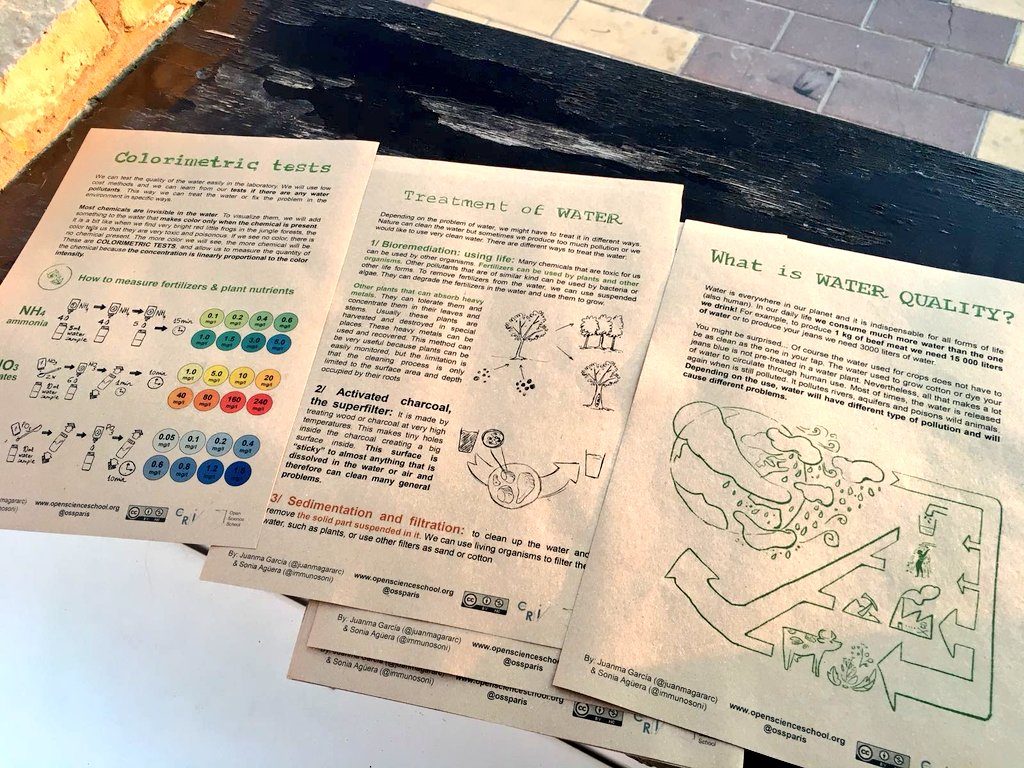
1/ Developing multilingual and reusable educational materials for learning about water quality, treatment of water and environmental intervention.
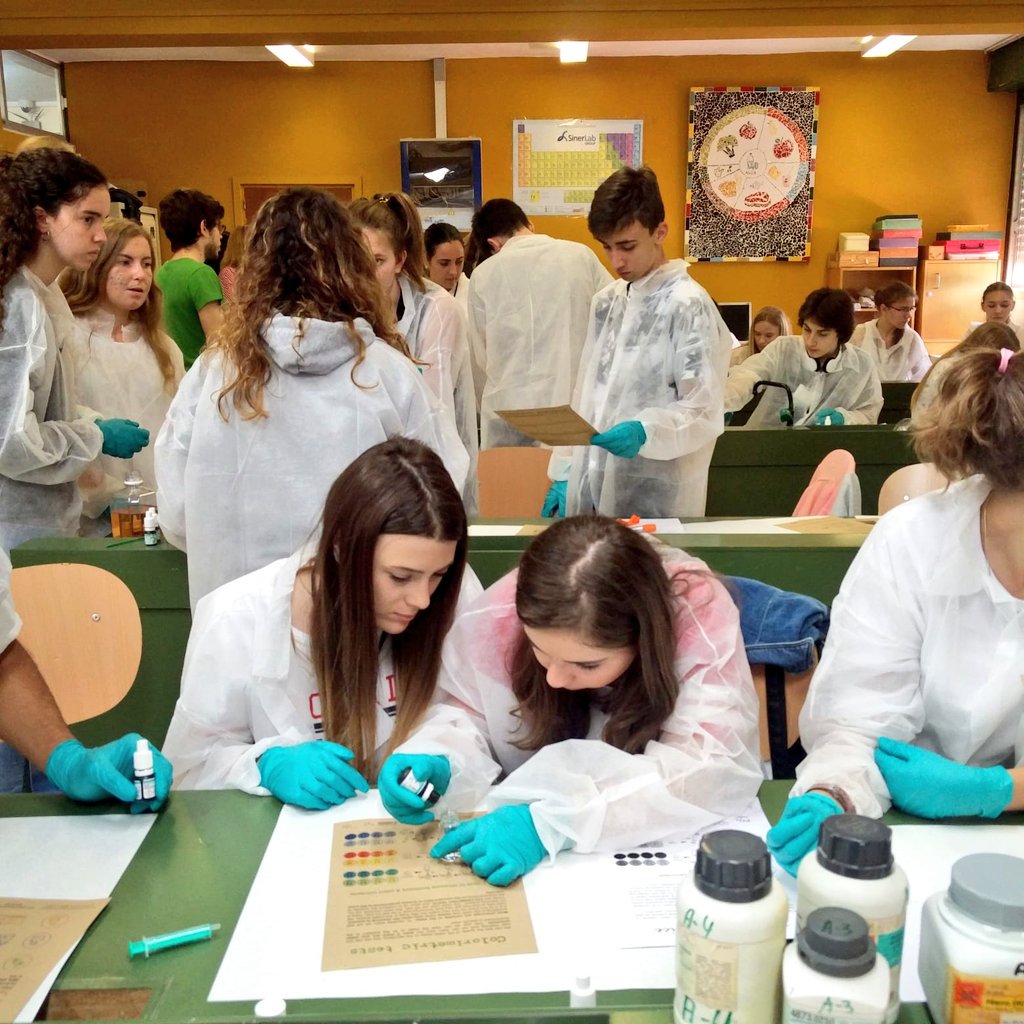
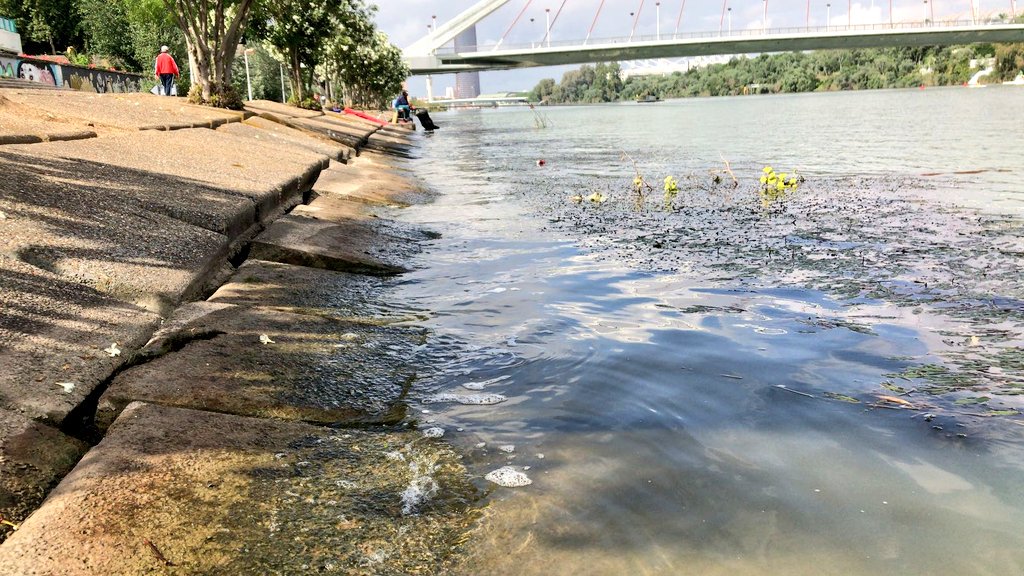
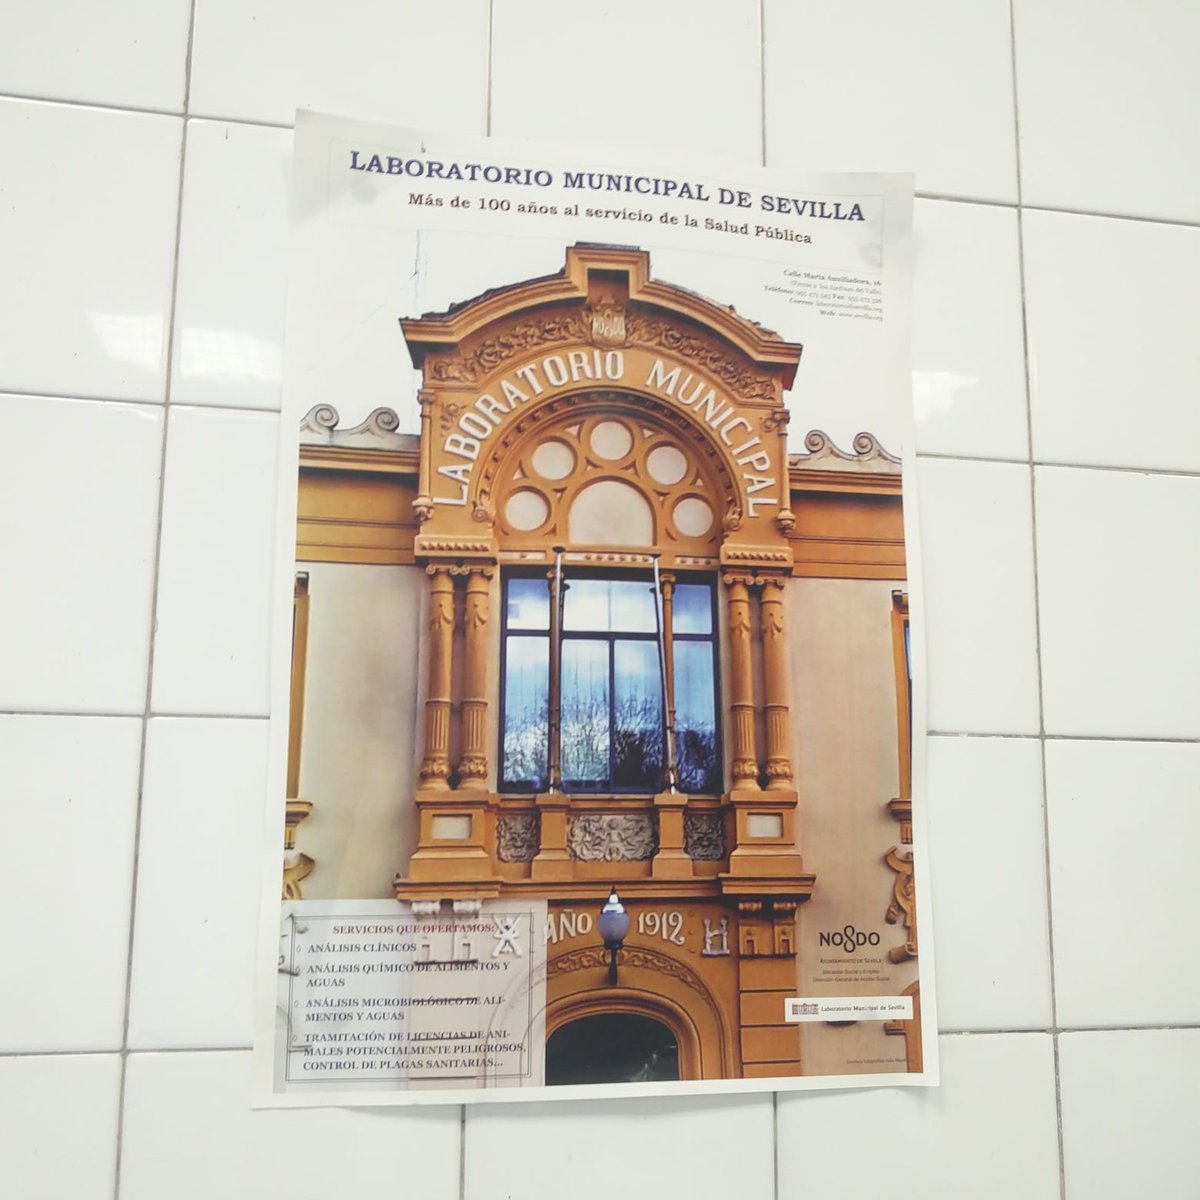
2/ Encourage productive scientific collaboration. All materials and equipment used are cheap and easy to buy. Teachers would be able to repeat this experience in the future on a short budget. The materials and protocols were validated by the water quality control lab of the city of Seville and graduate students. The students analyzed water from 3 rivers in the South of Spain and learned that water can have different problems.
3/ Soft skills. Provide students with research scientific skills that are useful not only in a laboratory but also in any other personal and professional aspect: observation and problem solving. We provided the students with limited information on the protocol to follow so they could fully experience the process of research: analyse and think how to fix the problem.
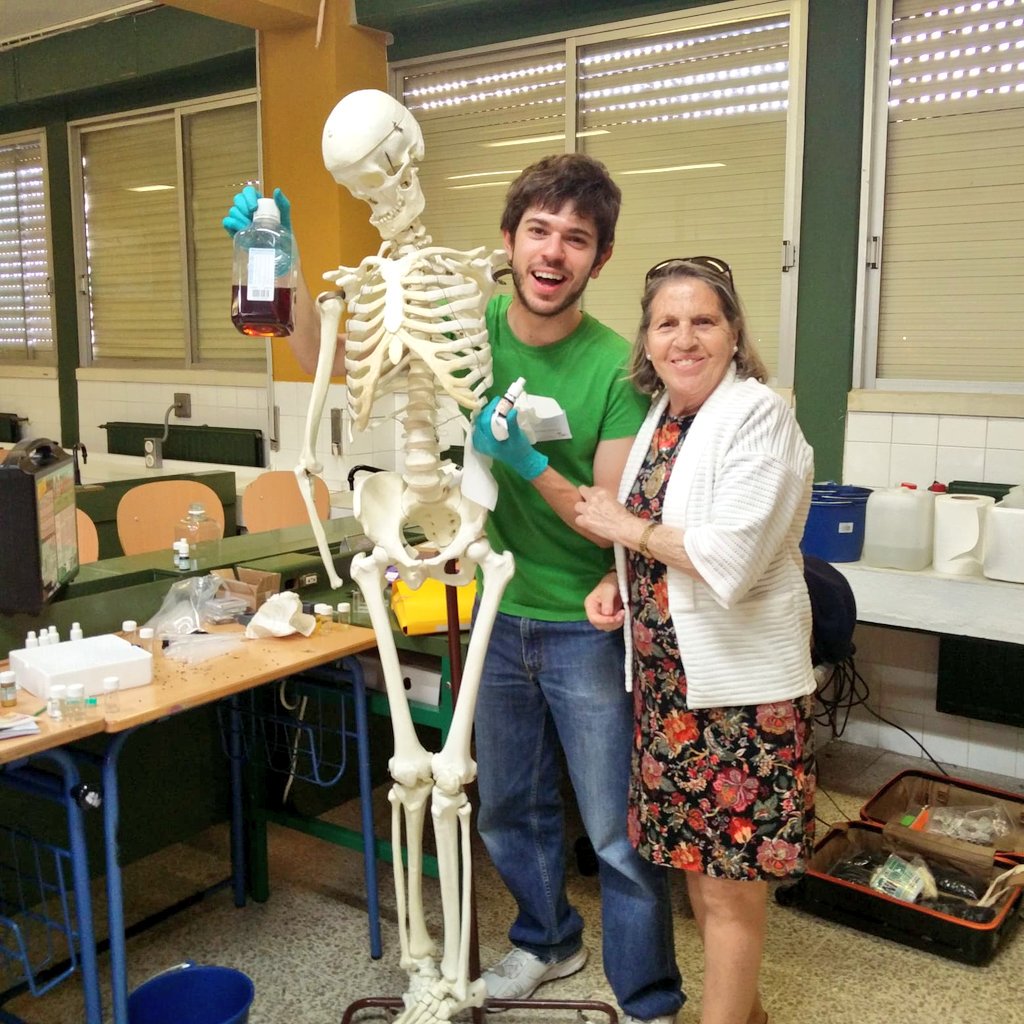
4/ Favor social inclusion. This workshop was held in one of the poorest neighborhoods of Spain in a school with absenteeism higher than 40% (Poligono Sur, Sevilla).
The project is ongoing and we will carry on a teacher training session to be held in Poland in October 2018. This event will include 20 High School teachers. We are currently looking forward applying for different grants to expand this citizen science project.


Do it at home: shopping list
This is an example of the materials we can buy online in France to make in total 50 tests. We typically make groups of 3-5 students working together and dividing tasks, so the list below (120 euros) serves for 70-90 students. I am sure you will be able to also find the same products elsewhere, so you do not need to follow exactly this link to buy the product.
- Test NH₄ d'Eau Douce/du Mer pour Aquariophilie 50 tests (Link) / 14.2 euros
- Test NO₃ d'Eau Douce/du Mer pour Aquariophilie 50 tests (Link) 17.95 euros
- Test PO₄ d'Eau Douce/du Mer pour Aquariophilie 50 tests (Link) 10.31 euros
- Test Cu/Cuivre d'eau pour Aquariophilie 50 tests (Link) 14.51 euros
- Tests Liquides - Test-Set Fer 50 tests (Link) 14.24 euros
- 5 kg 5000 g de charbon actif externe pour aquarium (Link) 26.99 euros
- Lot de 100 bandes d'essai pH neuf (Link) 19.45 euros
- Bouteilles en plastique Octopus 10 x 500 ml (Link) 12.95 euros

Media
Acnowledgements
Water watchers was started by Sonia Aguera and Juanma Garcia in 2018 as a collaboration with the Eramus+ project SWIS.
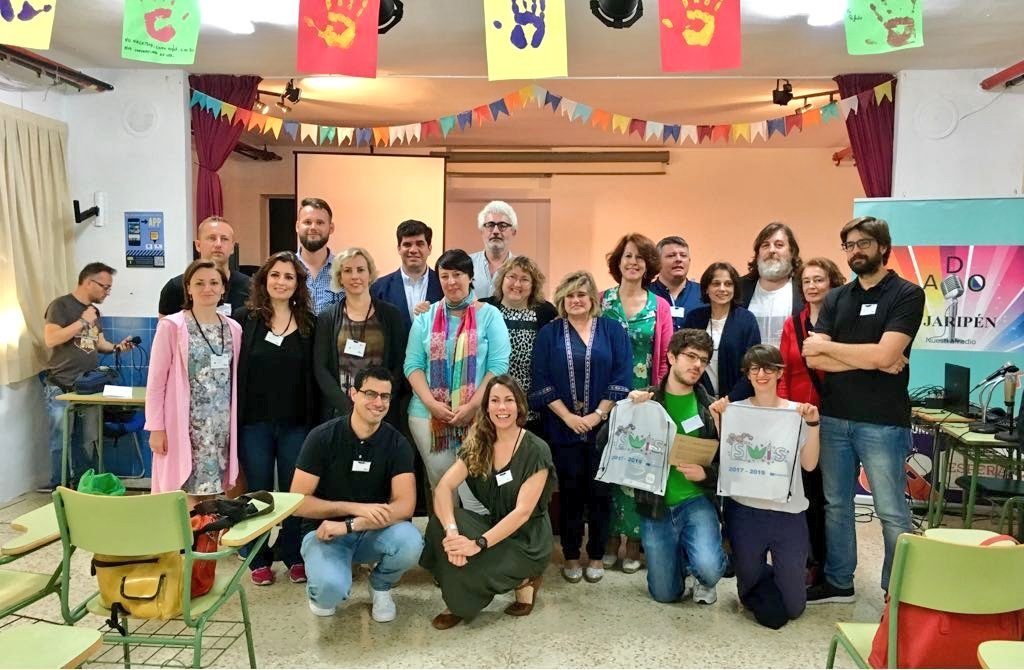
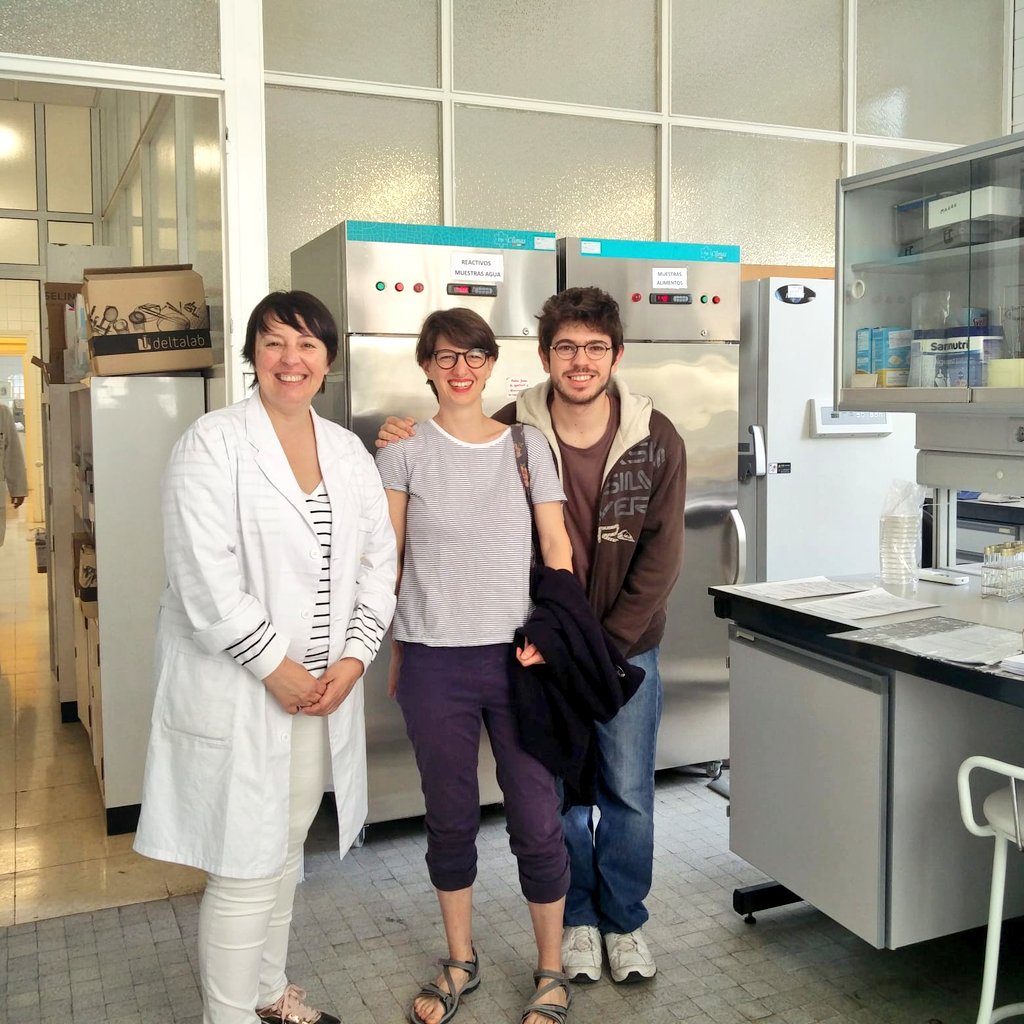
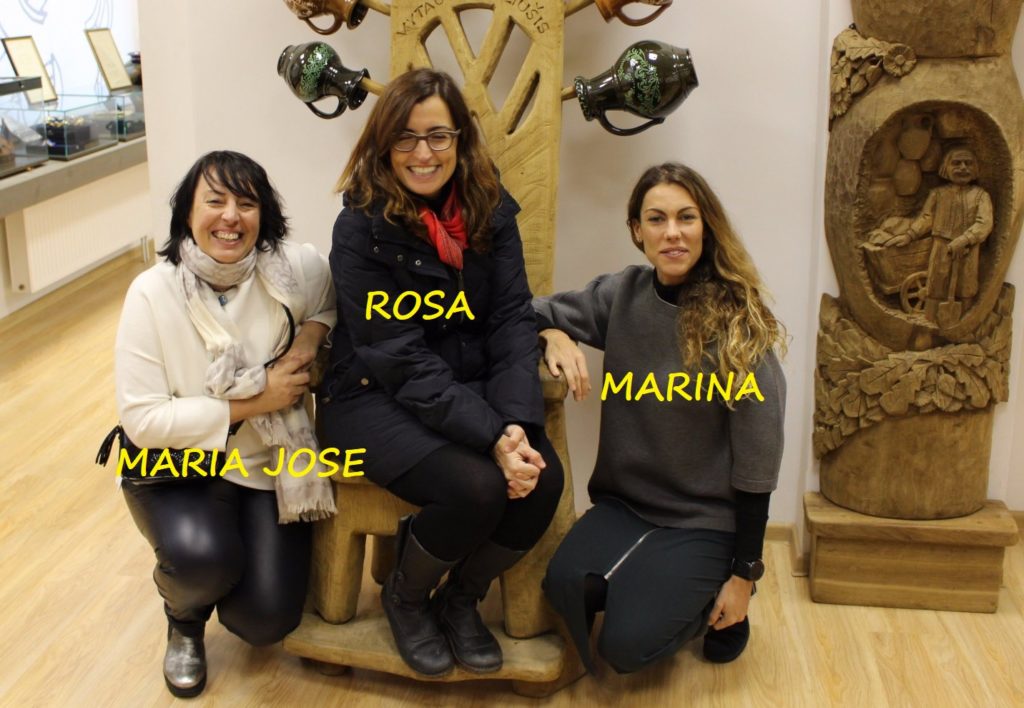
Thanks to the teacher Rosa Belmonte, coordinator of the Eramus+ project SWIS (science work in schools, link here) in the High School IES Antonio Dominguez Ortiz, and Maria Jose Leon from the public laboratory of the city of Sevilla.
Rosa is a very dedicated teacher that invited us to her high school and gave us useful feedback in the content we prepared. Maria Jose is a scientist in the city lab of Sevilla and very active in science communication and education.
Guide for teachers
Duration: 3 hours with some breaks
Number of students: 30
Learning objectives
- We can test the quality of water outside a laboratory, easily. Water can have many different types of problems.
- We can learn from our tests, to treat the water in a specific way, and to find out the source of the problem in the environment.
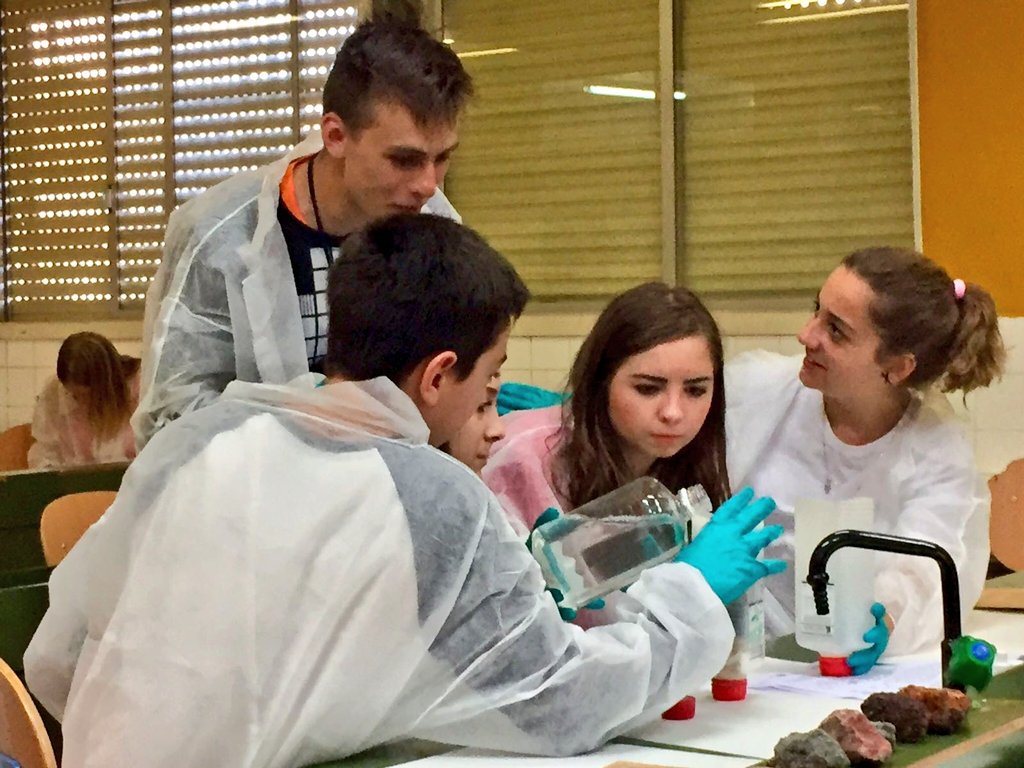
We will provide the students with guides and printed drawings to guide them. They will form groups with the task of test a water sample, imagine a way to depollute it, and then we will have a 15 minutes recapitulation session to summarize our finding and encourage then to continue the exploration.
Part 1: How do we use water? (Introduction to water quality)
Timing: 10-20 minutes.
Routine: The teacher(s) will welcome and arrange the students in groups of 3-5 students and then make a small introduction, try to be as interactive as possible.
This first part will cover an introduction to water quality. The students will learn than in reality we use much more water than we drink or see, and there is a good chance this water get polluted with its use, even if it is returned to the environment. We will cover three different water pollutants that are result of some human activities:
- Fertilizers, such as nitrates, phosphates: they produce an unbalance in the ecosystem, boosting algae populations. The solution is to treat water biologically before releasing it to the environment.
- Heavy metals, such as copper: they interfere with the photosynthesis. Copper dissolved ions “asphyxiate” plants. We would need adsorption filters such as activated charcoal to teat water.
- Limes, fine particles: comes from a poor sedimentation or from some works that are happening in the river, producing a cloud of fine particles that do not let the sun go in. The solution is using physical filters.
Part 2: Testing the water quality (Practical exercise using colorimetry)
Timing: 30 minutes
Routine: The teacher(s) will make a short intro of the protocol and let the students follow a printed guide, then survey if everything goes OK. Make sure to tell them how much time they have.
Materials: JBL water kits (for NO3, NH4, PO4, Fe and Cu), spectrophotometer, 1 cm cuvettes, water sample, pipettes, color guides, gloves.
Instructions: Make sure when you take your sample not to take earth, rocks, or plants. First, follow the instructions of the JBL kit to reveal the quantity of the different chemicals (for NO3, NH4, PO4, Fe and Cu) in your water sample. Second, put one milliliter of your sample in a plastic cuvette and measure the turbidity with the spectrophotometer. We can compare the results of the different chemical with a water standard and then identify the problem. Write down both results in your notebook.
Part 3: Filtering the water (Practical exercise building water filters and evaluating them)
Timing: 30 minutes
Routine: The teacher(s) will make a short intro of the protocol and let the students follow a printed guide, then survey if everything goes OK. Make sure to tell them how much time they have.
Materials: Different filtering materials to test (sand, cotton, activated charcoal, plants). Empty water bottles to act as filter containers. 1 liter of your water sample. Materials to test the water from part 2.
Instructions: Here we will design together a filter to solve the problem we found in the water. We will pass the water sample through your designed filter and see if the water is better now than before. Write down both results in your notebook.
Part 4: Finding the problem (creative exercise simulating field work in a polluted site)
Timing: 20-40 minutes
Routine: The teacher(s) will explain the game and make all the students work together to find a solution, collaboratively. Initially the students will have different data to start with.
Materials: Map design, pictures, and other materials to help the student “on field”.
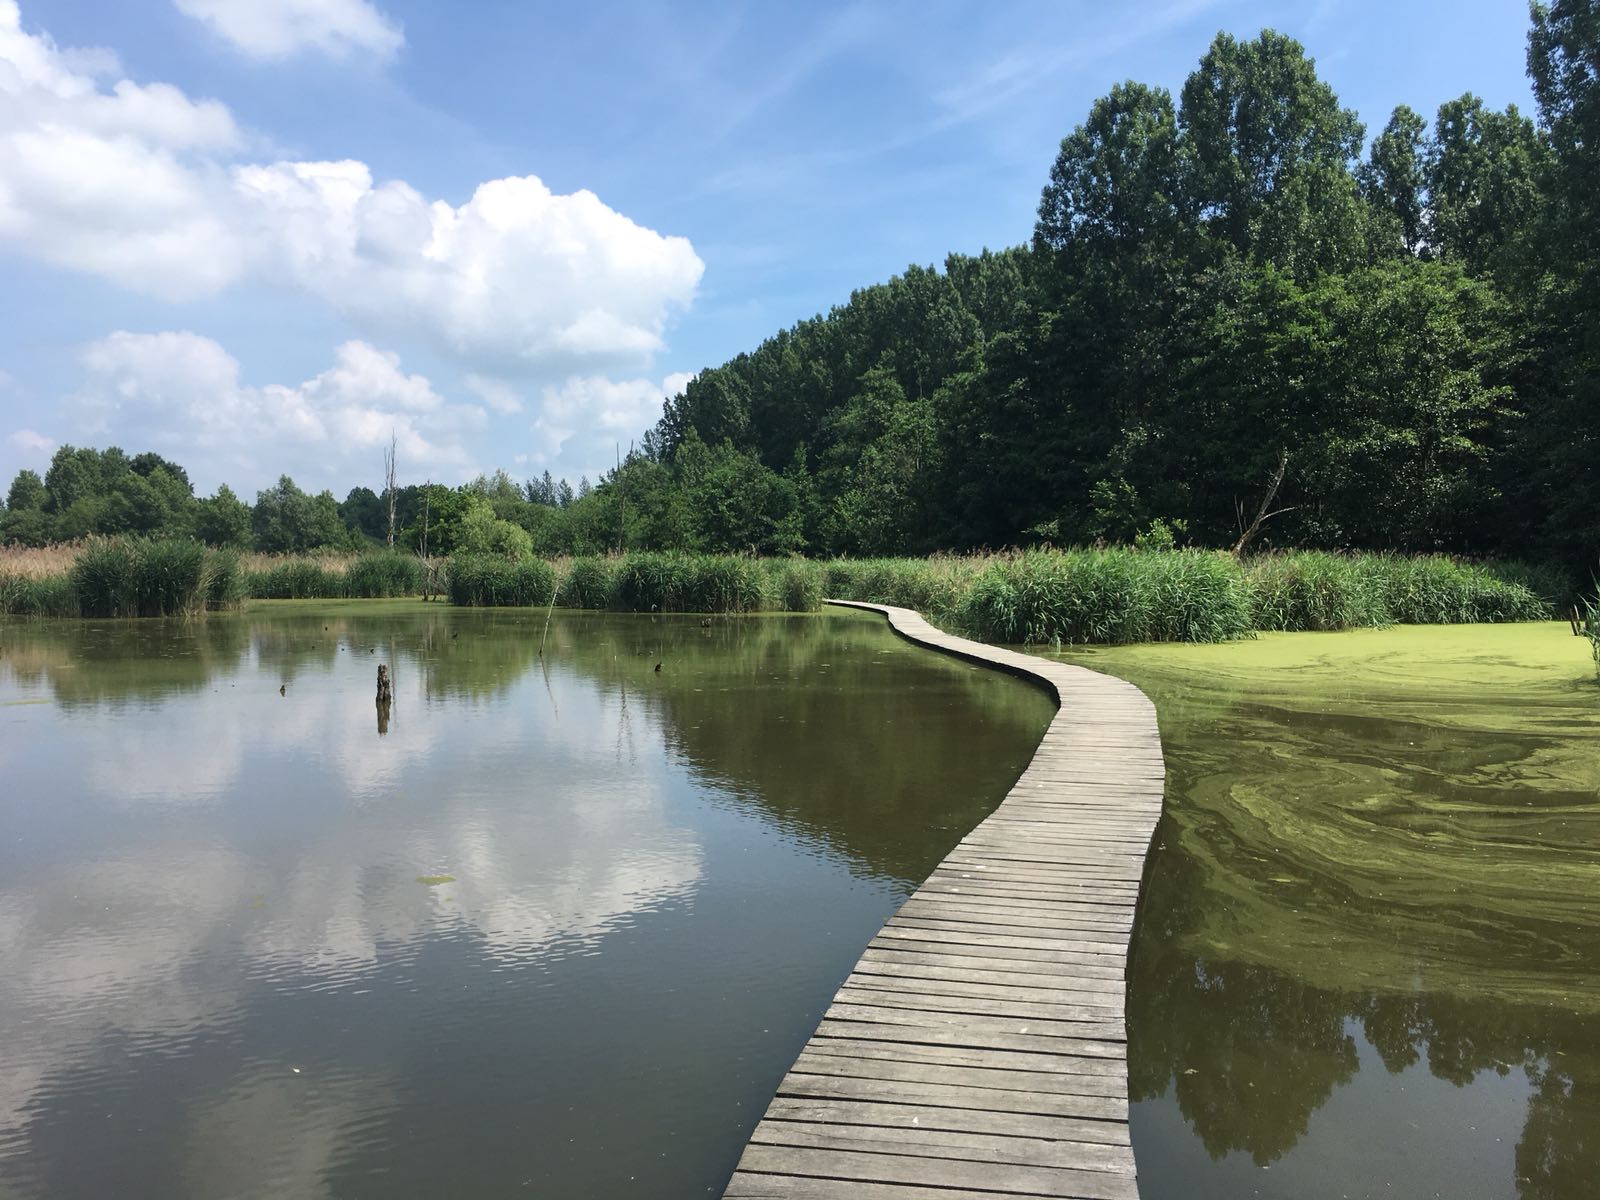
Instructions: We will try to find out what originated the problem we identifies in part 2 and tried to solve in part 3. A good solution for a polluted lake or river is not treating all the water there, but rather find out the origin and fix the problem at its source. You will be given a map of the area where your water sample was taken from. By turns with other students, you will be able to ask questions, pictures, or materials, and help you guess the correct answer.
